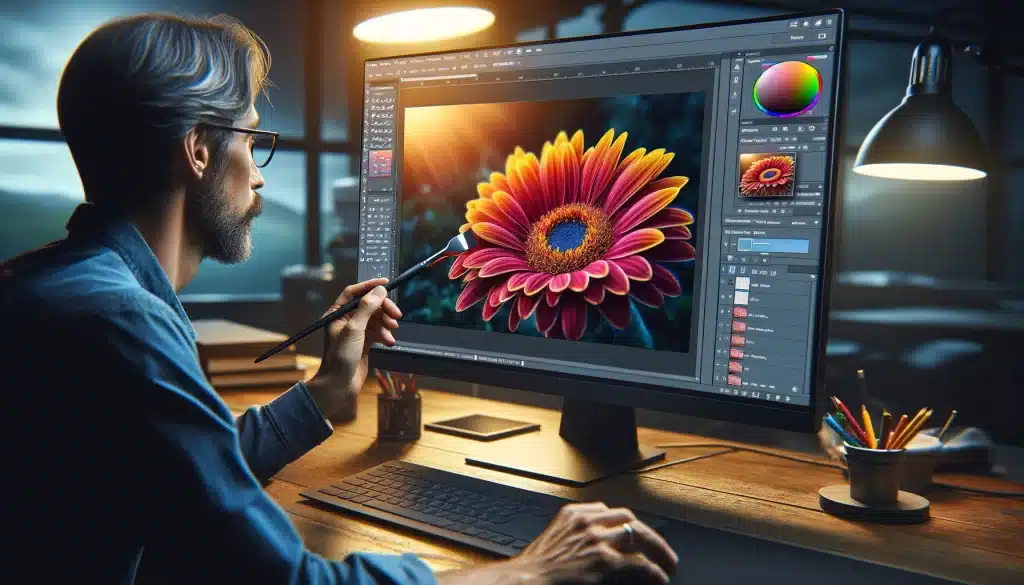
Have you ever wished you could just paint in or paint out the emphasis in your images? This lesson will show you a very basic approach that will allow you to accomplish exactly that; you’ll learn how to apply focus or blur to your photographs using the Brush tool in Photoshop CS6.
Before we get in to this video let me first emphasize that this approach isn’t designed for realistic control of the focus and bokeh in your photographs. Instead it’s a simple approach that you may utilize for creative focus. If you’re seeking for precise control of the focus and bokeh in your photographs I propose you check at onOne program’s FocalPoint 2 program. FocalPoint 2 enables you exact control of the focus your photographs and amongst other things, allowing you to replicate the blur and depth of field from various popular lenses. If you wish to take this approach to the next “advanced” level I urge you download a 30 day trial of for assessment.
What You’ll Need For This Tutorial
Start with two images of the identical subject. A small aperture function will yield an image with much focused background while your main subject remains in sharp focus. You should take one photograph with a big aperture that produces minimal depth of field effects.
In this lesson I’m utilizing a couple of pictures of a rose from my garden. One image was shot at f/22 (Rose-1) and has a great depth of field. The other image was shot at f/5 (Rose-2) and has a smaller depth of field. Feel free to use these two photos to follow along with this tutorial.
When shooting your own photographs for this approach you’ll want to utilize a tripod so the images line properly in Photoshop. If you didn’t use a tripod when collecting your photographs you may always utilize Photoshop’s Auto-Align tool. (See for instructions on how to utilize this feature).

The Steps
-
Open both photos and set each on its own layer in a separate document.
-
To start we’ll want to open each image into a single file, each with its own layer. Like most techniques in Photoshop there’s various ways to achieve this, but for this example we’ll just open each file in Photoshop, and then move one of them to the other using the “Duplicate Layer” option.
-
With both photos open in Photoshop and the Rose-2 file selected, right-click on the layer name and pick the option “Duplicate Layer.”
-
In the new “Duplicate Layer” box pick “Rose-1.jpg” in the “Destination” field.
-
While we’re in this dialog box let’s call this new layer “Rose-2” by putting “Rose-2” in the “As:” area. Click on “OK” to accept your changes, and Photoshop will copy the new layer to the Rose-1 file.
-
In Photoshop go to the Rose-1 file and you’ll find that the new layer “Rose-2” has been added to the file.
Add A Layer Mask
-
Confirm the new “Rose-2” layer is chosen by clicking on it once, then add a white layer mask to the layer by clicking on the “Add layer mask” icon.
-
A new layer mask will be applied to the “Rose-2” layer. Click once on the new layer mask to confirm that it’s chosen.
Read Also: How To Use Marquee Tool In Photoshop
Paint In The Focus Or Blur
-
Set the default foreground and background colors by tapping the “D” key. This will set the foreground color to white and the background color to black. Next tap the “X” key to invert the two colors so the foreground color is converted to black.
-
Select the Brush tool by tapping the “B” key, select a soft brush of the proper size, and begin painting on the image in the regions you wish to sharpen the focus. Be sure the brush blend mode is set to “Normal,” and the opacity is set correctly (I use 90-100%).
Review Your Work

When you’re done painting in the focus you may Shift+Click on the layer mask to disable the layer mask and display the “before” version of your image. This is a terrific method to view the outcomes of your labor. Shift+Click on the layer mask to re-enable it.
You may also Option+Click (Alt+Click in Windows) on the layer mask to display the layer mask and see where you put your paint strokes. This might come in helpful to notice any spots that you might have overlooked with the brush. When the layer mask is displayed, you can also see the density of your paint strokes. You may Option+Click (Alt+Click in Windows) on the layer mask again to conceal it and display the picture again.
That’s everything for this lesson! As you can see, adopting this approach is quite straightforward, and it’s good technique to tuck away in your arsenal of Photoshop secrets. Feel free to make comments and start a conversation!